Few things are more terrifying than the blank page. The specter of venturing into the unknown fills me with a sense of dread that I've carried with me since school. Learning software, putting together a model, or starting a sketch for a new project has proved spine-straightening at every juncture of my career. To be fair, the pain of the blank slate has dulled somewhat since newness is all-encompassing as a small business owner- bringing on clients, navigating advancements in technology, having to engage in marketing and business development and the necessity to adapt to changing site conditions as construction progresses means there isn't much time to dwell on the discomfort of the 'new'. Until I had the privilege of securing a space in which I could design a garden for myself.
I'm not sure how to describe the panic of finally having space to design a perennial garden for myself with the weight of 10 years of built-up expectation and late-night pinterest board-ing. In the past I'd had guardrails to steer designs: living in rental spaces necessitated being smart about planters for my own gardens, or for other projects, site conditions such as shade limited palettes, or clients' own desires and budgets proved useful to limit ambitions. Now that I was lucky enough to have a backdrop to play in, I was in over my head. How to begin?
My favorite mantra (which after a cursory search reveals is attributed to Desmond Tutu) is to eat the elephant one bite at a time. No mammals were harmed in the making of this garden- but if I needed to tackle the task of planning a space which was to hold so much emotional and professional importance, I was to do it one step at a time, and break the project down into smaller, meaningful tasks.
First bites
For most clients, we recommend living in a space for more than a year before launching in to any design work to fully appreciate the highs and lows of the surrounding landscape, which will inform your desired program and site attributes to preserve. At the outset of this endeavor, I acknowledged that each step in the process of converting our landscape to a space that was functional and beautiful would take more than one year. In 2025, we elected to tackle the area outside of the house for ease of access and care, as this would be one of the more curated planting areas. I wanted the ALA plant workshop landscape to be centered around the following goals:
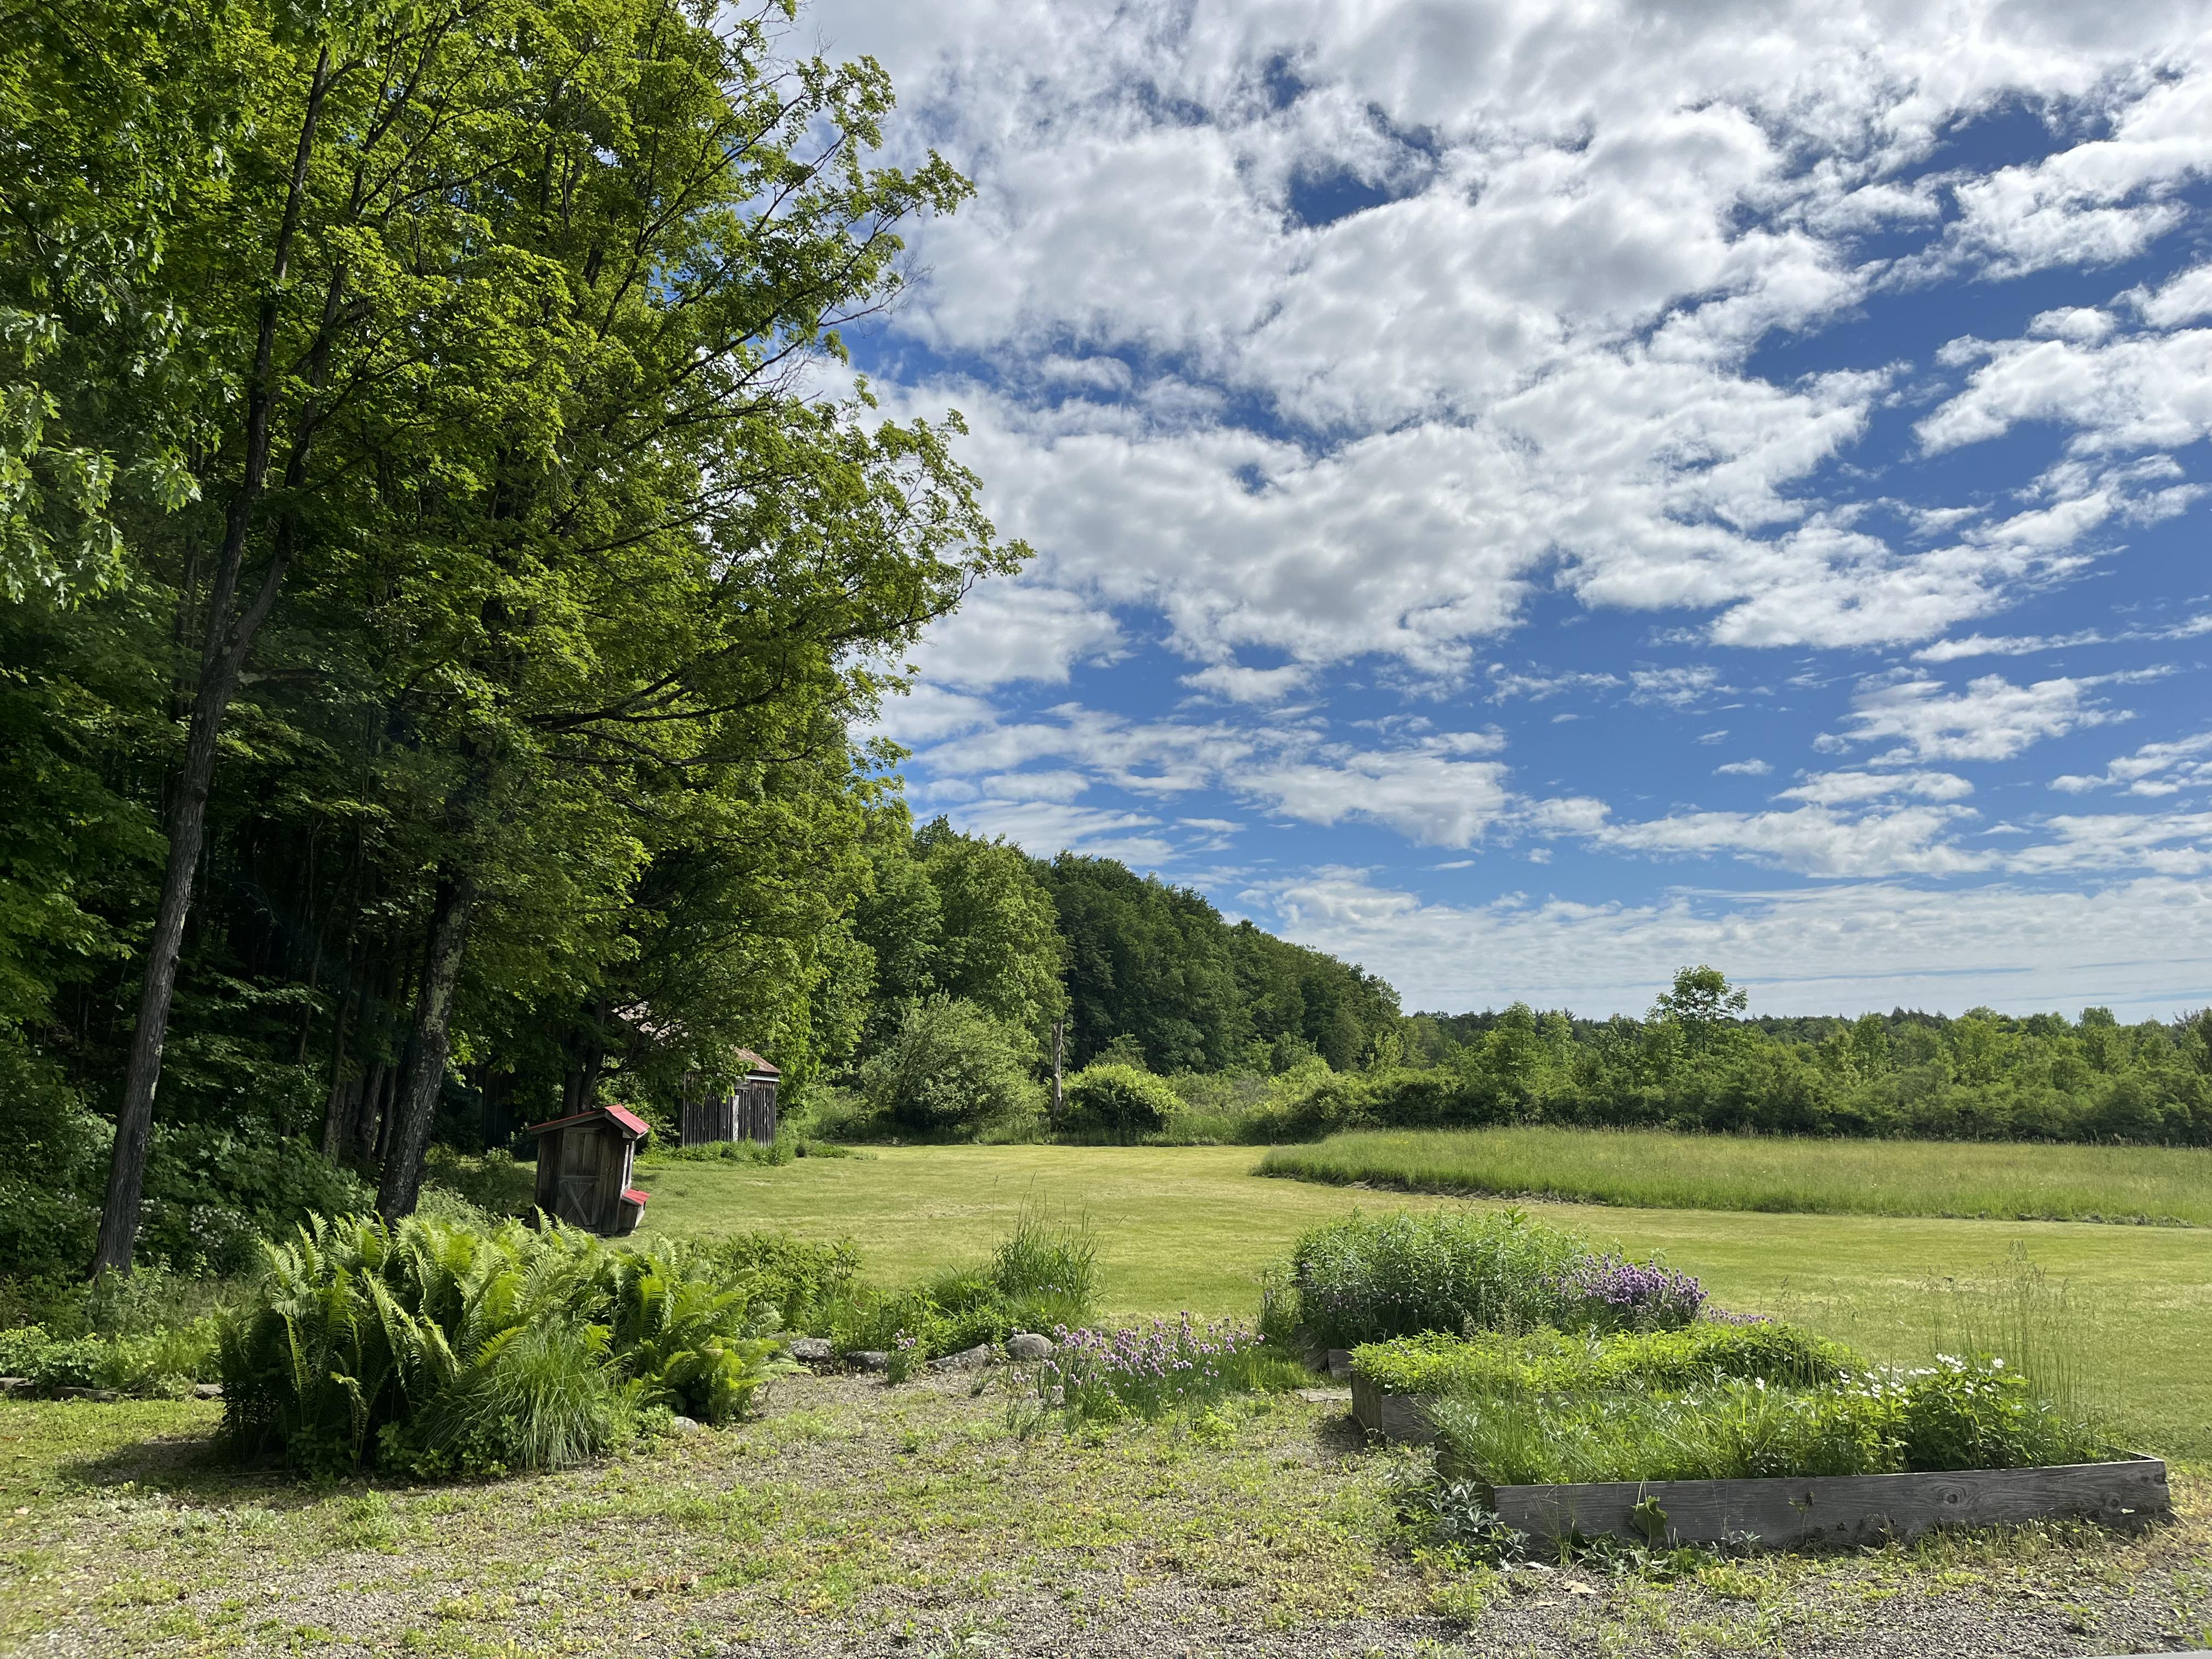
1) Provide a 'foreground' with topography and planting to frame our main view of the meadow beyond- the landscape immediately outside of the house was flat, boring, and uninterrupted.
2) Mitigate existing stormwater drainage and collection issues with topography and smart planting.
3) Planting needed to work in concert with the meadow beyond the curated garden space, which is predominantly grasses. Any new design needed to take this into account and celebrate the vast diversity of native grass species that can be found within Upstate New York.
4) Provide a framework for gathering areas and pathways that made the most of views and comfortable sun exposure.
Design
Iterating through concepts can be as exciting as any stage of the design and construction process. I sound like a broken record, but I'll continue to parrot the idea that structure and form must precede any inclinations towards color palette in a garden. Following a general delineation of gathering areas and pathways, which was modified several times using flags and spraypaint, I launched into planting. ALA's perennial workshop was designed to feature large swaths of native grasses prominently, which recall the meadow species beyond. I'll recall what I've written about this project in a prior social media post: Starting with conceptual sketches and diagrams, simple colored hatches differentiate species selected for height, soil and moisture differences within the site. Perennials are added in strategically over a second sheet of trace paper to achieve goals for a layered experience- tall and spiky perennials are offset by shorter masses of grass to allow their structure to shine; in other instances, more compact, rambling species frame pathways. There are exceptions to these rules, and plant layout will of course change in the field, but color is secondary to this approach. Once the architecture of the plants required is settled, a color scheme can be tailored to suit. I’ve found most bloom charts to be a bit misleading; there is so much more to a plant than the color of its flower.
While I had an idea of what would work onsite based on what I'd seen growing in other properties or nearby natural areas, I also wanted the design to incorporate as many plants as possible from our previous rental. Prior to the move, we initiated the process of lifting and potting over 200 plants in preparation for a new home. To shore up even more numbers, plants were divided again in the fall of 2024. Some 300-400 perennials would be ready for installation in spring of 2025.
Getting started in the field
I'd argue that most projects live or die in the installation phase- a good installer (or lack thereof) can make or break a project. We've adapted our contracts to require that clients hire ALA for construction administration for all of our projects, as it's critical we are onsite early and often to account for unforeseen circumstances, adapt to changes in the design or lay things out in the field to best accentuate or accommodate site features. For this reason, I consider construction administration to be another facet of design in the landscape architect's toolbox. Frankly, it's also the most fun part of being a designer- seeing things drawn on paper come to fruition is a wonderful thing. The benefit of the construction site being right outside your door means you can repeatedly check your assumptions and provide proof of concept in real time. In this case, using spray paint and drone photography proved useful to determine lawn removal extents, location of high points, and to gather accurate information about square footages to calculate plant quantities.
Initiating the site demolition and plant installation phase was a task that required assistance from professionals. Removing existing barberry shrubs surrounding the deck required the use of chains and a mini-excavator, and sod and gravel removal in the bed areas warranted a skid steer- both tools that we were unprepared to use. Demolition of the areas inboard of the orange line took roughly four days.
And, what to do with the refuse? Trying to waste as little as possible, any removed material from the site (mostly gravel with clay) was re-formed into the base of the topography for the berms surrounding the vegetable garden space. Clay served as the core, with gravel forming a drainage layer atop. These first layers were allowed to settle for 3 weeks prior to any addition of topsoil. The berms themselves do not exceed 3' in height so as not to impede views beyond, merely providing the frame for one of my favorite standing snag and providing a lovely armature for the vegetable garden beds.
As available daylight increased, confidence followed at a proportional rate. Exercising free will, a lax attitude towards health and safety, and ignoring any budgetary constraints, a rented skid steer was secured, and we got to work with remaining clearing and soil placement.
Additional topsoil was sourced for the site for garden areas requiring better drainage. In these locations, we dumped and mixed an additional 40 cubic yards of sandy loam topsoil with the lowest nutrient levels we could find to support species that would sulk in heavier soils. In the lowest spots, we amended with smaller quantities and let the clay be- these locations would later be home to plants such as Lobelia siphilitica and Carex vulpinoidea, species that relish a bit of inundation.
Planting
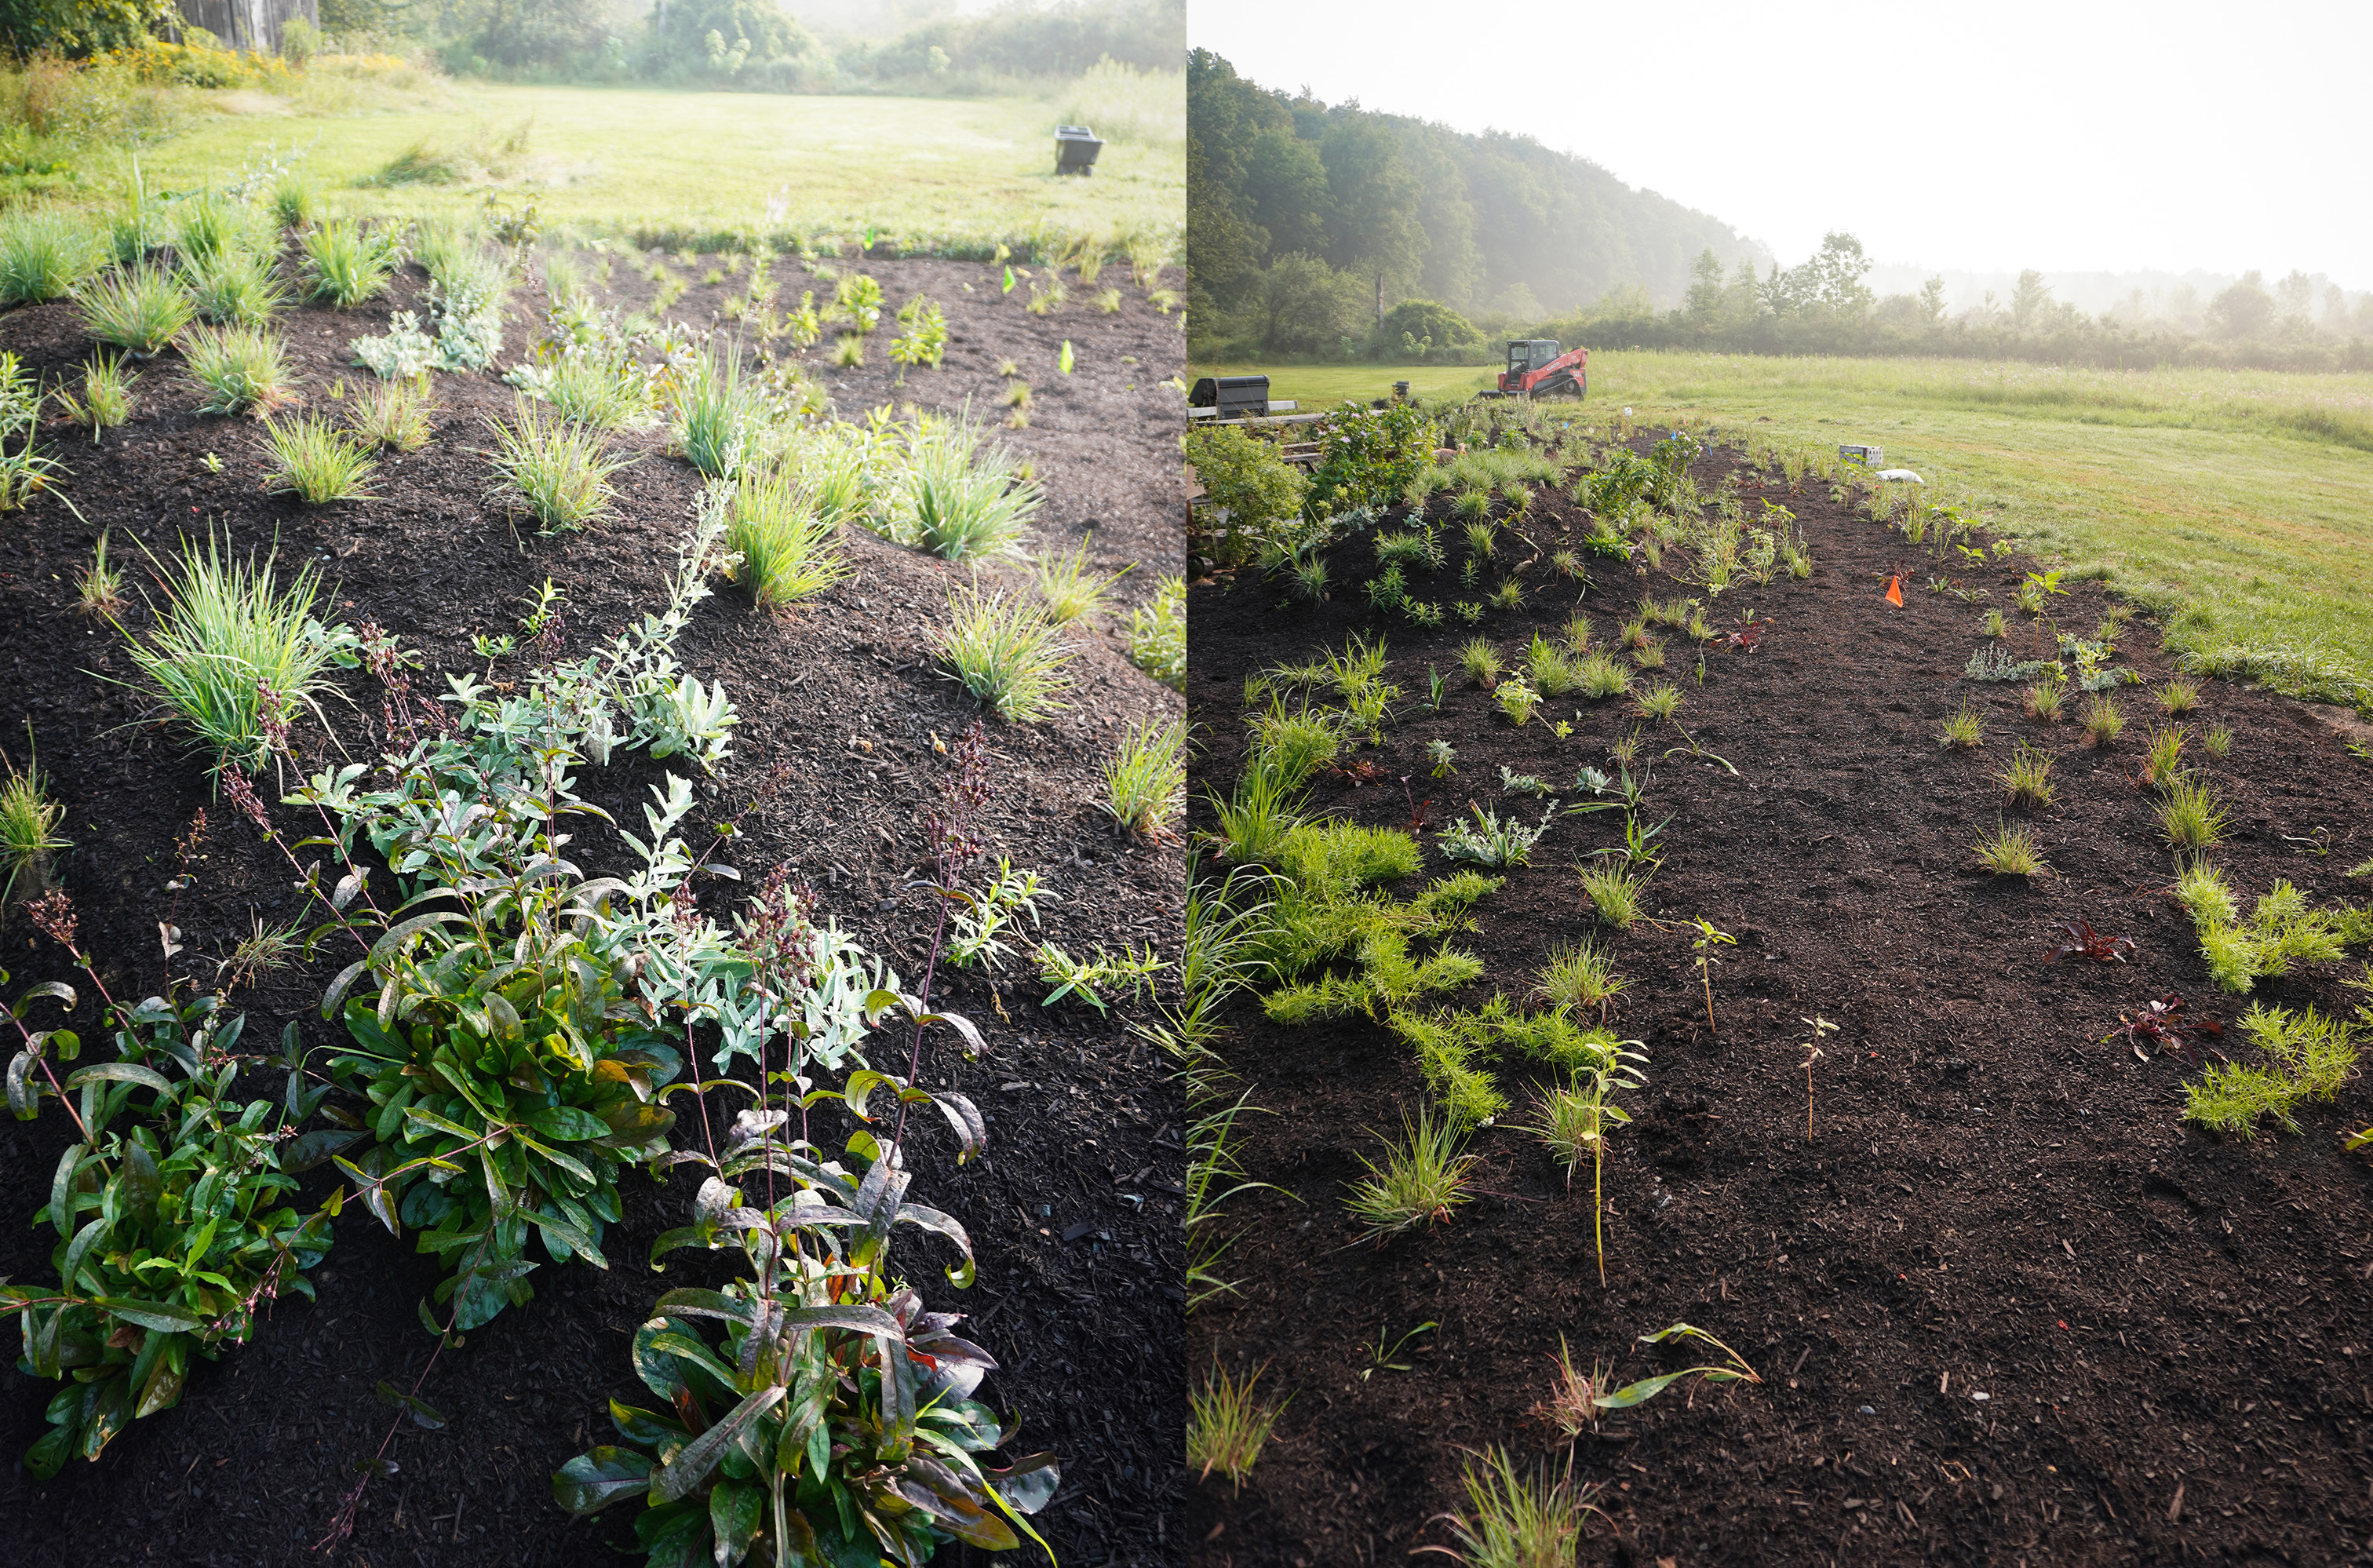
Following designation of pathways and hardscape delineation, plant layout is sequenced similarly for all projects- largest material first (trees, then shrubs), and perennials follow. In this instance the majority of plants selected for the site were herbaceous perennials, which meant any of the woodier species would be at the top of the roster. Laying out species such as Thermopsis, Cornus sericea, and all of our Amsonias occurred first, which allowed me to gain an understanding of how much space the remaining perennials could occupy without competing with the form of the more robust plantings.
To supplement the species propagated earlier in the season, plugs were used for larger quantities of keystone species within the palette. I vastly prefer plugs for perennial installation in most designs due to their affordability and the fact that they usually catch up to their larger counterparts within a couple of months.
Establishment
As a principle, I am ruthless with which plants are allowed to exist in a palette. If they do not survive past the first season, require too much coddling, or supplemental irrigation beyond establishment, they get axed from the design. With a busy installation schedule for spring and summer, I had neither the time, water resources, or energy to spend hours watering in the fledgling landscape. Plant installation was timed as closely as possible with forecasted rain to ensure deep root growth, and beyond that, very little supplemental watering occurred. Though I prefer green mulches for the majority of our designs, a hectic summer and weed pressure necessitated an application of milled, undyed bark mulch to aid in water retention. We've since relied on an adaptable palette and mother nature to handle the rest. Thus far, I've counted only about 8 casualties.
Onto the next
As our garden injuries settle and the season stretches into cooler temperatures, more plans are on the horizon for bulb installation and garden expansion beyond the limits shown in the preceding images. Though progress is incremental, it has made the work more manageable and allowed for repeated checks and balances within the design process. For now, we are content to take a (small) break and enjoy watching this space evolve, and to take you all along for the ride.
